7 best practices to structure and organize a React application


As a React developer, you know that the key to creating a successful project is keeping your code organized and easy to understand.
In this guide, I'll share my top tips and tricks for organizing your React code intuitively and efficiently.
I've got the scoop on keeping your codebase running like a well-oiled machine, from creative folder structures to clever naming conventions.
So why wait? Let's dive in and start optimizing your project today!
- 📍Introduction
- 📍Best practice 1: Ideal Folder Structure
- 📍Best practice 2: Naming Conventions
- 📍Best practice 3: Debugging and Error Handling
- 📍Best practice 4: Code Splitting
- 📍 Best practice 5: Linting
- 📍 Best practice 6: Testing
- 📍 Best practice 7: Type Checking
- 📍 Importance of a Well-Organized Folder Structure
- 📍 The Verdict

Introduction
As a software engineer with over 13 years of experience, I've worked on various exciting projects for companies such as Disney, T-Mobile, Barclays, and Accenture.
I've learned the value of having a logical and clear code structure throughout my career, especially on large-scale projects where a lot of code can be tracked.
I've tried out different structures and found that depending on the project's size and complexity, some work better than others.
For example, on a large project for Accenture, I implemented a combination of feature-based and module-based folders to keep my code organized and easy to navigate.
This allowed me to maintain a clear separation of concerns and helped me stay efficient as I worked on the project.
Again, there's no one-size-fits-all approach to code organization, and the specific structure that works best for your project will depend on your particular needs and preferences. But by following some best practices and staying organized, you can set your project up for success and streamline your workflow as a developer.
Ideal Folder Structure
Assuming you're going to create the next app similar to Facebook, an ideal folder structure would look like this.

In this code structure, a large-scale React app that resembles a social media platform like Facebook is designed to be scalable, maintainable, and easy to navigate.
- The structure is organized into an
srcthe directory containing the React app's source code. - The
actionsandreducersfolders contain Redux-specific code. - The
componentsfolder contains the React components for the app. - The
stylesfolder contains CSS styles. - The
utilsfolder contains utility functions. - The
viewsfolder contains higher-level components responsible for rendering specific pages or sections of the app. - The
App.jsfile contains the root component of the app. - The
index.jsthe file is responsible for rendering the root component and mounting it to the DOM. - The
package.jsonfile lists the dependencies for the project - The
README.mdthe file provides documentation for the project.
Overall, this code structure is designed to support the development of a large-scale React app with a complex feature set and a large codebase.
The use of Redux for state management and the inclusion of utility functions and higher-level views further help to improve the scalability and maintainability of the app.
I like how Adrian organizes his ongoing projects.

Naming Conventions
In the code structure above, I used several naming conventions to improve the readability and understandability of the code.
For example:
- I used camelCase for variables and functions, such as
fetchPostsandupdateProfile. This standard convention in JavaScript makes it easier to read the code. - I also used PascalCase for components such as
ProfilePageandPostList. This standard React convention helps distinguish components from other types of code. - The
actionsfolder contains code related to Redux actions. - The
componentsfolder contains the React components for the app.
Overall, consistent and descriptive naming conventions help improve the code's readability and understandability.
Debugging and Error Handling
First, I made sure to use the React Developer Tools browser extension, a valuable tool for debugging and understanding what's happening in a React app.
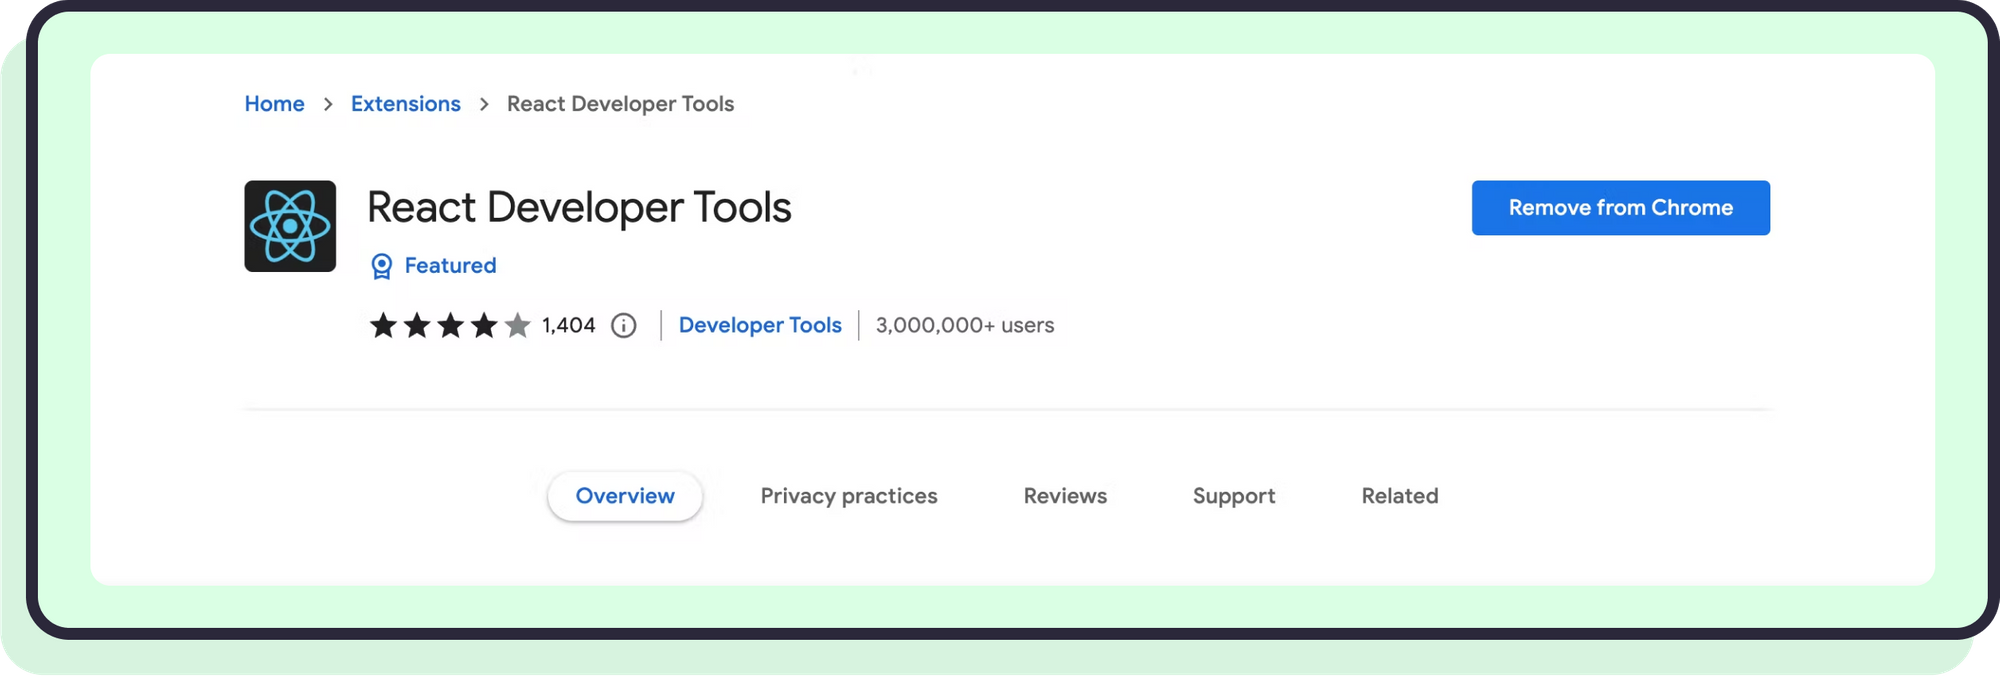
The extension allows you to inspect the component hierarchy, view the current state and props of components, and see what's happening behind the scenes.
import React from 'react';
import { render } from 'react-dom';

class App extends React.Component {
  state = {
    count: 0
  };

  incrementCount = () => {
    this.setState({ count: this.state.count + 1 });
  };

  render() {
    return (
      <div>
        <h1>Count: {this.state.count}</h1>
        <button onClick={this.incrementCount}>Increment</button>
      </div>
    );
  }
}

render(<App />, document.getElementById('root'));
I also made sure to use the console.log function to output debug information.
This simple but powerful tool allows you to see what's happening in your code.
import React from 'react';
import { render } from 'react-dom';

class App extends React.Component {
  state = {
    count: 0
  };

  incrementCount = () => {
    console.log('Incrementing count');
    this.setState({ count: this.state.count + 1 });
  };

  render() {
    return (
      <div>
        <h1>Count: {this.state.count}</h1>
In addition, I used try/catch blocks to catch and handle exceptions in my code.
Finally, I regularly tested the app to catch any errors or issues that might arise.
By following these debugging and error-handling strategies, I could effectively troubleshoot and fix problems in the app, which helped improve the codebase's stability and reliability.
Code Splitting
Code splitting is a technique for optimizing the performance of a React app by dividing the code into smaller chunks that can be loaded on demand.
Here are 3 factors to consider when implementing code splitting in a React app.
- Code splitting can improve the initial load time of an app by only loading the code needed upfront rather than loading the entire codebase at once.
- Code splitting can be implemented using the
React.lazyandSuspensecomponents, which allow you to dynamically load components as they are needed. - Code splitting can be used with webpack and the
import()function to dynamically import code chunks at runtime.
To implement code splitting in a React app, you can use the React.lazy and Suspense components to dynamically load components as they are needed.
For example:
import React, { Suspense } from 'react';

const HomePage = React.lazy(() => import('./views/HomePage'));
const ProfilePage = React.lazy(() => import('./views/ProfilePage'));
const FriendsPage = React.lazy(() => import('./views/FriendsPage'));

function App() {
  return (
    <Suspense fallback={<div>Loading...</div>}>
      <Switch>
        <Route exact path="/" component={HomePage} />
        <Route path="/profile" component={ProfilePage} />
        <Route path="/friends" component={FriendsPage} />
      </Switch>
    </Suspense>
  );
}

export default App;
In this example, the HomePage, ProfilePage, and FriendsPage components are loaded dynamically using the React.lazy and Suspense components.
By implementing code splitting, you can help optimize your React app's performance and improve the user experience.
Linting
Linting is the process of automatically checking your code for errors and inconsistencies.
Here are three key points to consider when using linting tools to improve code quality in a React app.
- Linting tools can help to enforce coding standards and best practices by identifying and flagging errors and inconsistencies in your code.
- Linting tools can be integrated with your code editor or build process to automatically check your code as you write it.
- Linting tools can be configured to check for specific errors or issues and can be customized to suit the needs of your project.
To implement linting in a React app, you can use a popular linting tool such as ESLint.
For example, you can install ESLint by running the command npm install eslint and then integrate it with your code editor by installing the corresponding plugin. After that, you can configure it by creating a .eslintrc file at the root of your project.
Here is an example of how you might configure ESLint to check for specific errors in a React app.
{
  "extends": [
    "eslint:recommended",
    "plugin:react/recommended"
  ],
  "plugins": [
    "react"
  ],
  "parser": "babel-eslint",
  "parserOptions": {
    "ecmaVersion": 6,
    "sourceType": "module",
    "ecmaFeatures": {
      "jsx": true
    }
  },
  "rules": {
    "react/prop-types": "off"
  }
}
By using the linting tool and enforcing coding standards, you can help to improve the quality of your code and ensure consistency throughout your codebase.
Testing
Testing is an important aspect of software development because it allows you to ensure that your components are working as expected.
Here are five key points to consider when testing React components.
- Testing can help to catch bugs and errors early in the development process, which can save time and effort in the long run.
- There are different types of tests that you can write, such as unit tests, integration tests, and end-to-end tests, each with its specific use cases.
- Unit tests are focused on testing individual components or functions in isolation and checking their outputs.
- Integration tests are focused on testing how different components and services interact with one another.
- End-to-end tests are focused on testing the entire application as a user would interact with it.
There are various testing libraries you can use to write the test cases for your React code, the most popular of them are Jest, Enzyme and Cypress.
- Jest is a JavaScript testing framework that can be used for unit tests and integration tests.
- Enzyme is a JavaScript testing utility for React that makes it easy to assert, manipulate, and traverse your React Components' output.
- Cypress is an end-to-end testing framework that makes it easy to write, run and debug tests for web applications.
Here is an example of how you might write a unit test for a simple React component using Jest and Enzyme.
import React from 'react';
import { shallow } from 'enzyme';
import MyComponent from './MyComponent';

describe('MyComponent', () => {
  it('renders the correct text', () => {
    const wrapper = shallow(<MyComponent text="Hello, world!" />);
    expect(wrapper.text()).toEqual('Hello, world!');
  });
});
This test uses the shallow function from Enzyme to render the MyComponent component, and then uses Jest's expect function to check that the component's text content is as expected.
Here's an example of an end-to-end test that tests the login to the home page and sending a tweet functionality using Cypress.
describe('Login and tweet functionality', () => {
  it('logs in and sends a tweet', () => {
    cy.visit('http://localhost:3000/login');
    cy.get('input[name="username"]').type('myusername');
    cy.get('input[name="password"]').type('mypassword');
    cy.get('button[type="submit"]').click();
    cy.url().should('include', '/home');
    cy.get('textarea[name="tweet"]').type('This is my new tweet!');
    cy.get('button[type="submit"]').click();
    cy.get('.tweet').should('contain', 'This is my new tweet!');
  });
});
In this example, the test navigates to the login page of the app, enters the login credentials, submits the form and checks if it's redirected to the home page. Then it types in the text area a new tweet, clicks on the submit button, and then checks if the tweet is present on the page.
This test simulates a user logging into the app, navigating to the home page, and sending a tweet.
Here are two out-of-the-box strategies for testing React components that you could consider:
- Snapshot testing: This is a technique for testing that involves taking a "snapshot" of the component's rendered output and comparing it to a reference snapshot. If the reference snapshot and the current snapshot match, the test passes. This technique can be useful for catching unexpected changes to a component's output.
- Visual regression testing: This technique involves taking screenshots of the component's output and comparing it to a reference screenshot. If the reference screenshot and the current screenshot match, the test passes. This technique can be useful for catching visual changes to a component's output.
Here's an example of how you might use Jest and Enzyme to take a snapshot of a component.
import React from 'react';
import renderer from 'react-test-renderer';
import MyComponent from './MyComponent';

describe('MyComponent', () => {
  it('matches the snapshot', () => {
    const tree = renderer.create(<MyComponent />).toJSON();
    expect(tree).toMatchSnapshot();
  });
});
Here's an example of how you might use Cypress for visual regression testing.
describe('MyComponent', () => {
  it('matches the reference screenshot', () => {
    cy.visit('http://localhost:3000');
    cy.matchImageSnapshot();
  });
});
By using these techniques, you can catch unexpected changes in your components and ensure that they maintain consistency over time.
Type Checking
Type checking is a technique for ensuring that variables and functions have the correct data types at runtime.
Here are two key points to consider when using type-checking tools to improve code reliability in a React app.
- Type checking can help to catch type-related errors early in the development process before they cause problems at runtime. This can save time and effort in the long run.
- Type checking can improve the readability and maintainability of your code by providing clear and explicit information about the types of variables and functions.
There are different type-checking tools you can use in a React project, the most popular is TypeScript and PropTypes.
- TypeScript is a typed superset of JavaScript that adds type annotations and interfaces to the language. It can be used to write large-scale projects and increase development speed.
- PropTypes is a built-in package that ships with React, it allows you to specify the types of props for a component and it will check them at runtime.
Here is an example of how you might use TypeScript to define the types of props for a component.
import React from 'react';

type Props = {
  name: string;
  age: number;
  isStudent: boolean;
};

const MyComponent: React.FC<Props> = ({ name, age, isStudent }) => {
  return <div>{name} is {age} years old and is a student: {isStudent ? 'yes' : 'no'}</div>;
};
Here is an example of how you might use PropTypes to define the types of props for a component.
import React from 'react';
import PropTypes from 'prop-types';

const MyComponent = ({ name, age, isStudent }) => {
  return <div>{name} is {age} years old and is a student: {isStudent ? 'yes'
Importance of a Well-Organized Folder Structure
- Code organization is essential for the success of any project, large or small.
- A clear and logical folder structure helps keep your code organized, easy to understand and maintain.
- A well-organized codebase makes it easier to scale your project as it grows and evolves.
- A clear and consistent organization can improve the overall efficiency of a project.
- A well-organized codebase can make it easier to onboard new team members and reduce the learning curve for new developers.
- It's worth taking the time to carefully plan and implement a code organization strategy that works well for your particular project.
- Ignoring code organization can lead to a cluttered, hard-to-maintain codebase that is difficult to work with.
- Code organization is not a one-size-fits-all proposition - the specific structure that works best for your project will depend on its size, complexity, and other factors.
- Adaptability and willingness to change your code organization strategy as your project grows and evolves are critical.
- Code organization is an ongoing process, and it's essential to periodically review and refactor your structure to ensure that it still serves your project's needs.
Don't Overthink About Folder Structure
If you're just starting a new project, don't spend more than 5-10 minutes deciding on a file structure. Choose any approach and begin writing code! You'll definitely reconsider after you've written some real code.
The verdict
Organizing your React code and implementing best practices is not only a good idea, but it's also an absolute must for any project that aspires to be maintainable and scalable.
- A well-structured codebase is a foundation upon which all further development will be built. It's like a solid foundation of a building that supports the entire structure.
- By following best practices like using a clear and consistent file and folder structure, implementing naming conventions, managing dependencies, debugging and error handling, testing and type checking, you'll be able to write code that is not only functional but also a pleasure to work with.
It's like having a clean and organized office, it makes you more productive and efficient. So, don't just take our word for it, put these best practices into action and experience the difference for yourself!
![How to Build REST APIs: A Beginner's Guide [2026]](/articles/content/images/size/w600/2026/06/100-hero.jpg)
![Best Free TypeScript Courses [2026]](/articles/content/images/size/w600/2026/06/99-hero.jpg)
![Best Free SQL Courses [2026]](/articles/content/images/size/w600/2026/06/98-hero-1.jpg)
![Best React Projects for Beginners [2026]](/articles/content/images/size/w600/2026/06/97-hero-1.jpg)